Lighting
Good lightning makes great photographs no matter what the subject. It takes a lot of practice and experimentation to understand the quality light to shoot with as well as what direction and angles will best enhance your shot. Be it overhead or angled shots, whichever you choose to showcase your food, your images will not have good visual appeal if your shot is not properly lit.
For food shots, we want light to bring out the shape and texture of food by creating layers of soft and hard contrast in different areas of our frame along with addition of highlights and shadows. The subject can be backlit; side lit or front lit depending on the textures and shapes that we want to define.
TIP 1
Side lighting is very common in food photography because it gives quite a bit of flexibility. To set up your scene, place your light at roughly ninety degrees from the front view point of the camera. Your images will show one side of your dish as lit and the other side will be in shadow. Reflectors and modifiers play a huge role in side light photography by giving you control over the way you modify and light up your scene.
Once you’ve identified where all your recipes are located, you will need to create a holdingspace where you can compile them into one spot. Based on your preference, this may be adigital space like Google Docs or Word where you can copy/paste or type up each recipe. Youmay also prefer a more tangible option like a binder, box, or bin. Choose an option that worksbest for you.
TIP 2
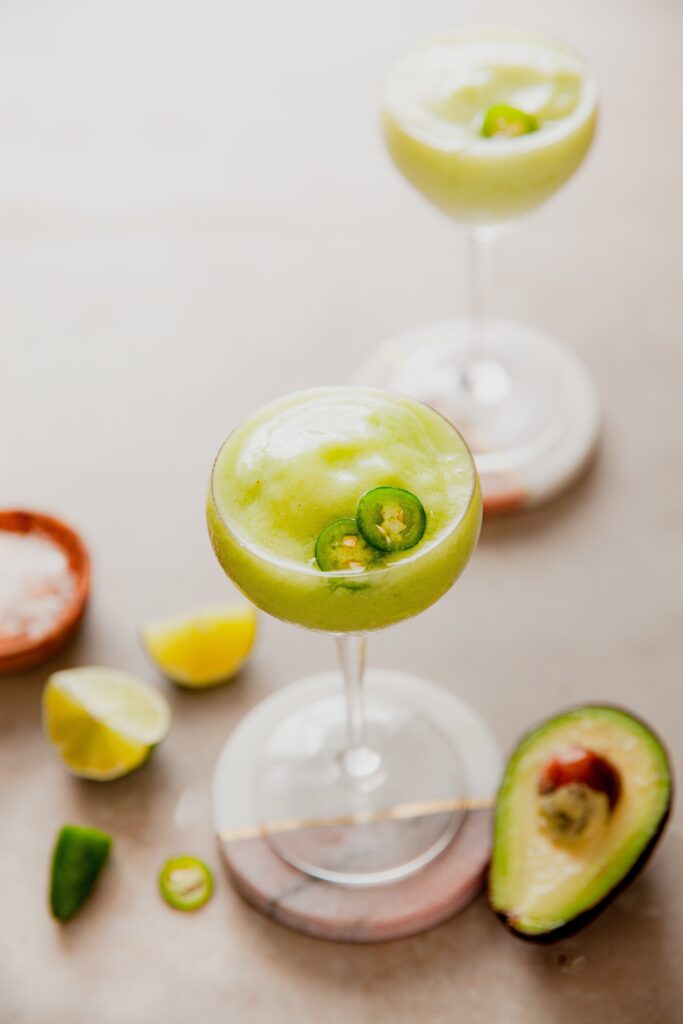
Backlighting in food photography is very popular and one of our favorite light directions to work with. It creates beautiful highlights and helps bring out the textural details of a dish. Backlight involves positioning the main light source for your photograph behind your food. It is also one of the most beautiful lights to work with when shooting drinks.
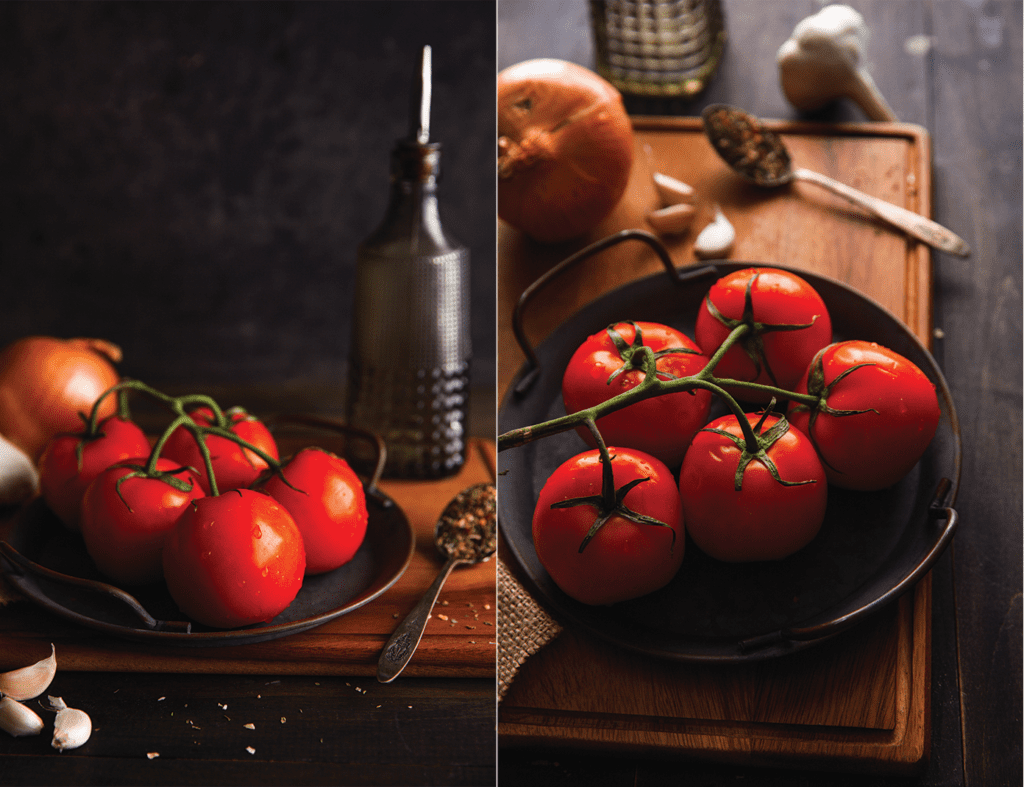
Depending on the kind of photograph you are creating, you could use natural or artificial lighting set up. Natural light photography uses the sun as a light source. Natural lighting can be difficult to control because light from the sun varies at different times during the day. Artificial lighting is man-made and can include a variety of sources such as fire, candlelight, gaslight, lamps and spotlights. Play with lighting to determine which one you prefer.
TIP 1
Find the largest or smallest (for darker shots) window in your house, use a thin white drape or thin sheet to soften the light coming through the window and place your food dish near the window for a well lit shot that isn’t overly highlighted.
TIP 2
The quality of natural light changes every half hour. Experiment at various times before deciding which hour of the day works best for you. That said, you could find more than one time period in the day and different locations around your house that work best for natural light photos.
TIP 3
You don’t need to buy fancy reflectors to get the perfect lighting. Get creative and pull items you already have in the house. Craft foam boards, poster boards, large cutting boards or even cardboard covered in aluminum foil are perfect makeshift reflectors and light blockers.
TIP 4
Shooting with artificial lightning has its own advantages. One of the biggest benefits is the flexibility of times and locations you can shoot images. Since you control the lighting, you won’t be rushed to take the shot before the lighting changes which helps create more consistent images.
Food Styling and Plating
They say we eat with our eyes first. An image of a beautifully plated dish is pleasing to look at, but it can also entice your appetite. You want readers to want to make these dishes. Depending on the mood you are trying to create for your heirloom cookbook, you can stage your shots with a variety of props, flatware, serveware and decor.
TIP 1
Fresh is best. Whether you’re shooting images of raw ingredients or the final cooked dish, food looks best when it’s fresh. Slightly undercooking the meat so that it doesn’t fall apart or blanching the vegetables helps preserve their color and firmness which helps create appetizing images.
TIP 2
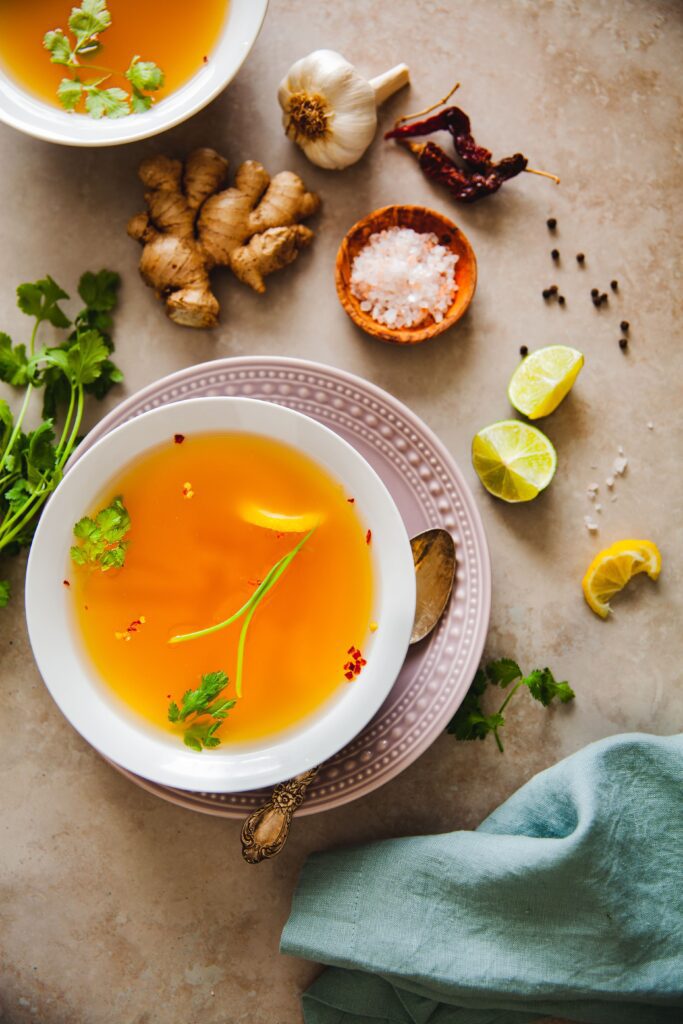
Complement the color, shape, and textures of the dish with the serveware you are choosing. For example, plating soup in a wide shallow low bowl with fresh garnishes works better than choosing a deep bowl.
TIP 3
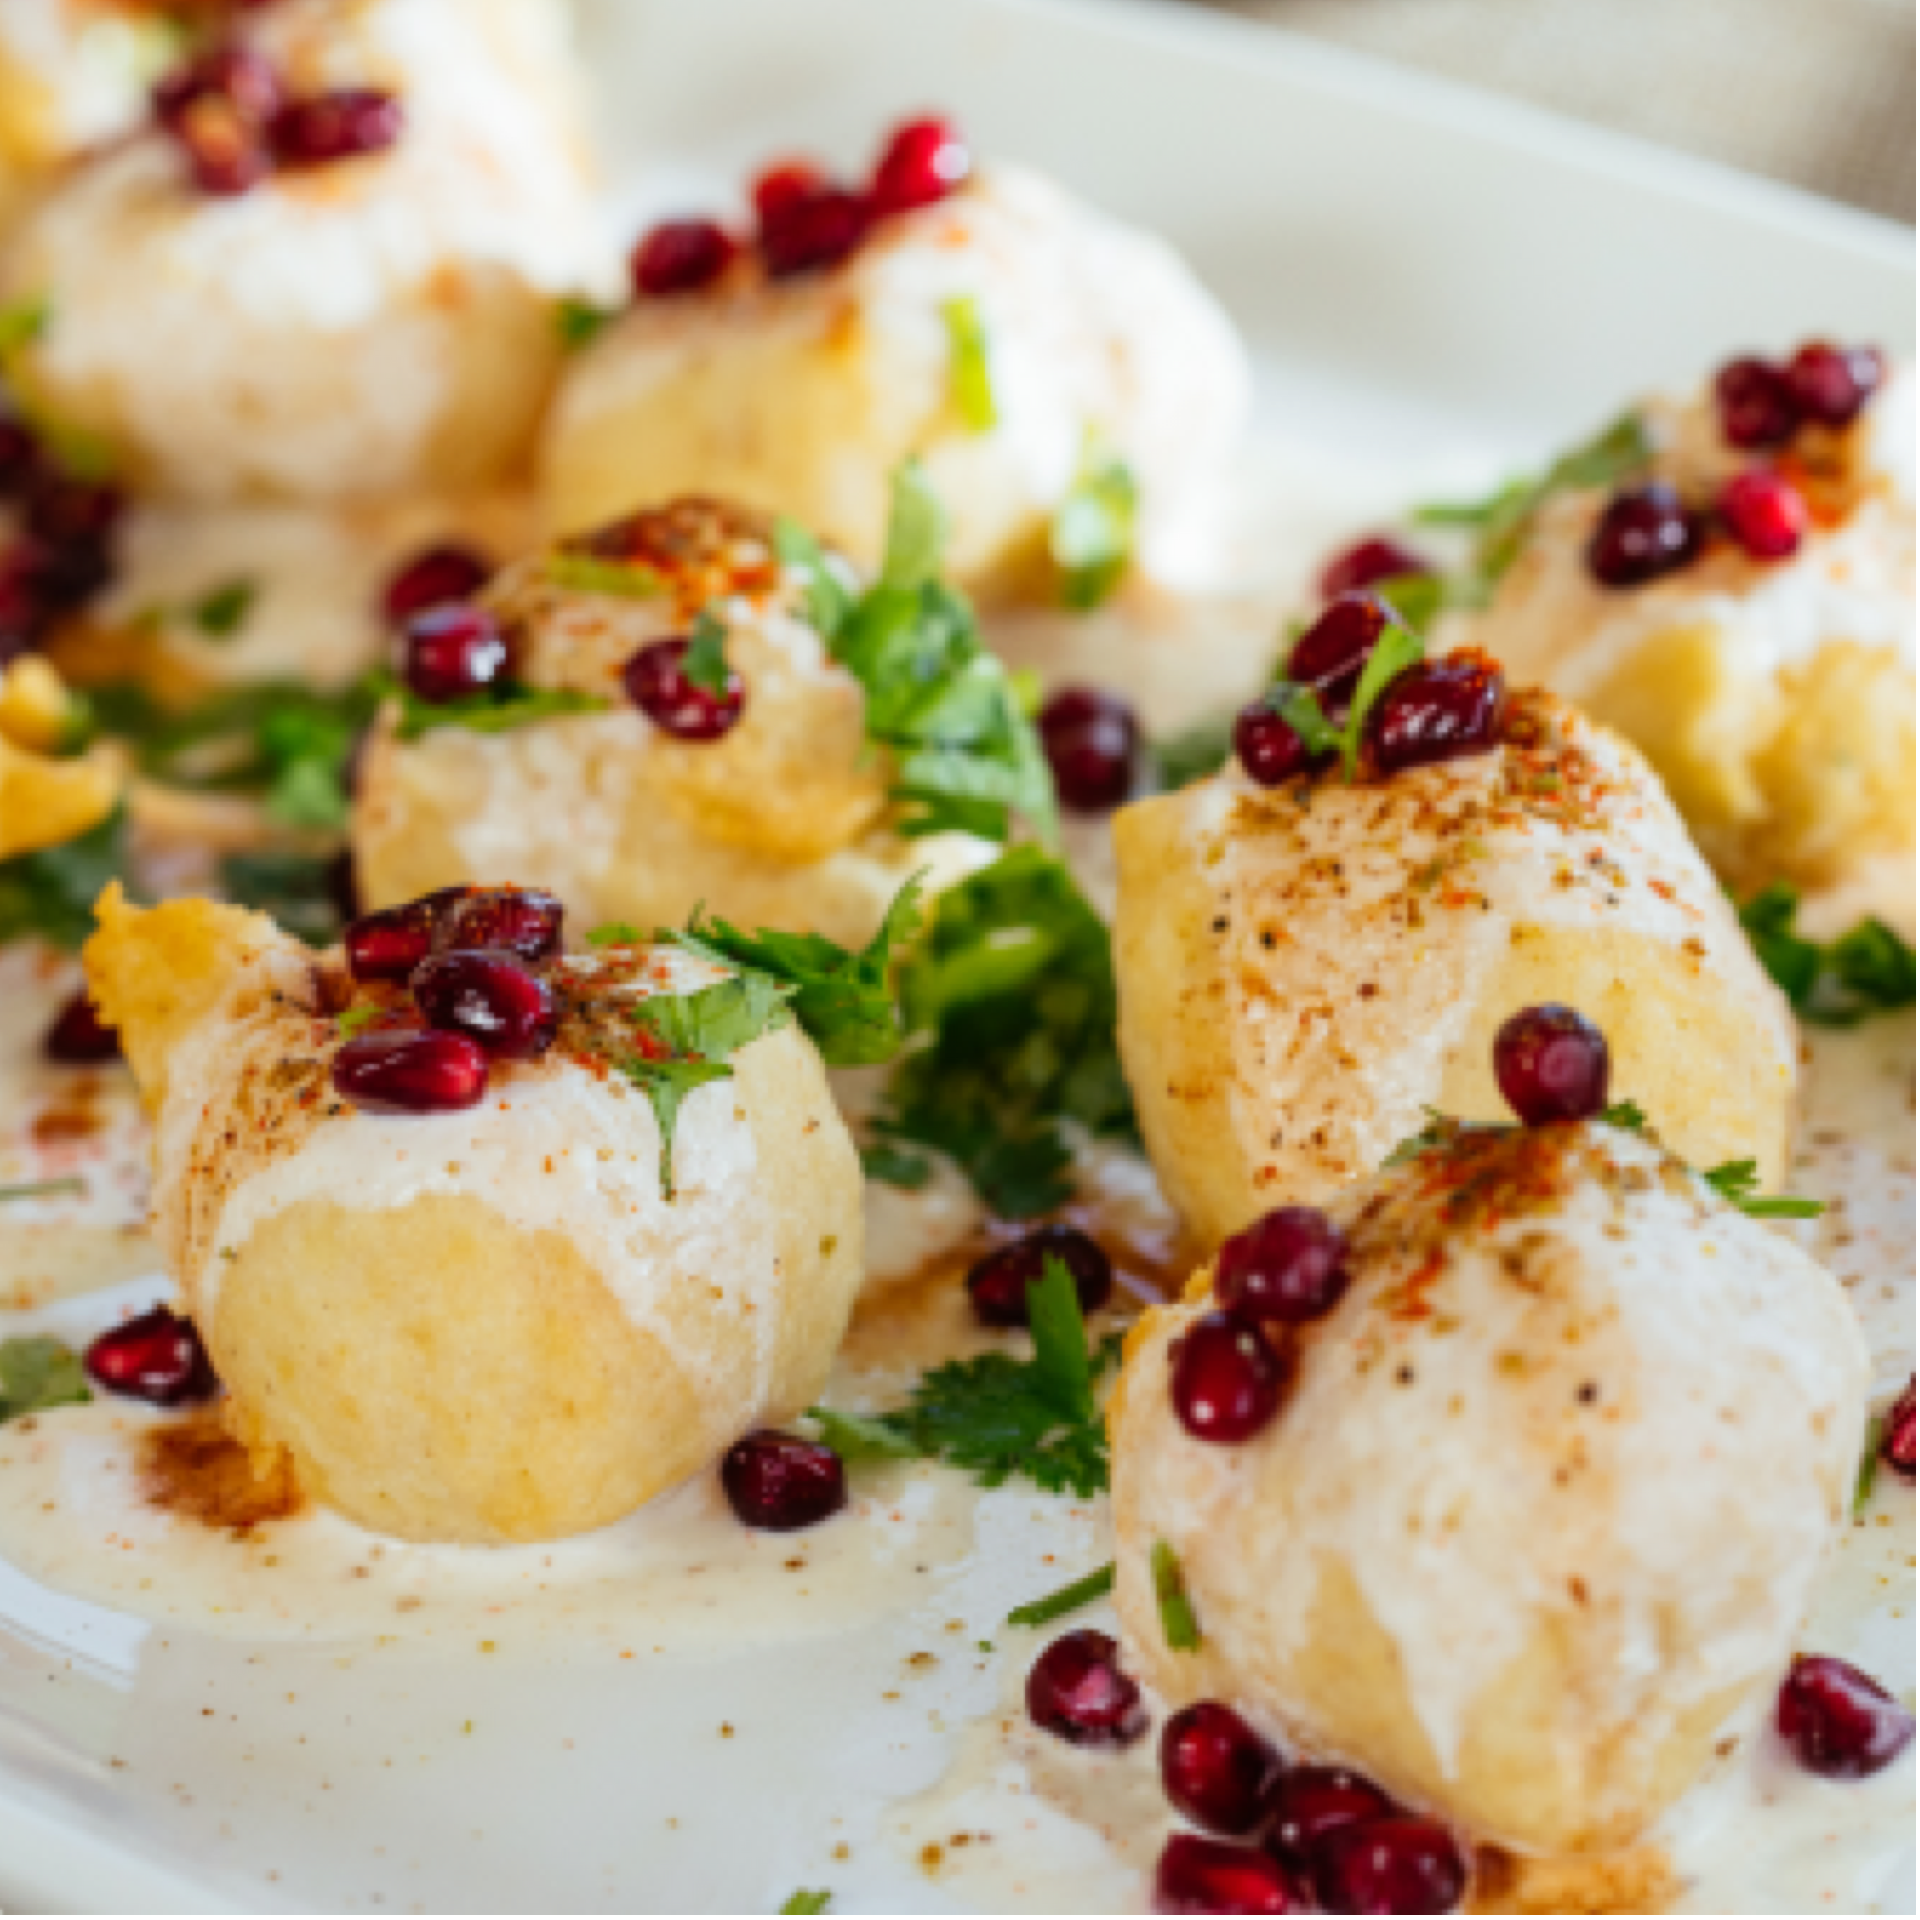
Garnish, garnish, garnish! Even minimal garnishes can elevate the look of any dish. Herbs, a dollop of cream, a drizzle of oil, edible flowers can add visual interest and a pop of color. That said, try to garnish only with the ingredients that are already part of the recipe or with something that compliments the food.
TIP 4
Vary your shoot angles and the height of items in your shot. For example a stack of 4 to 5 sandwiches looks better than an image of a single sandwich. Also, if you are photographing table settings or desserts, adding flowers to the frame helps balance the shot and creates more depth.
Props

Prop styling includes using various objects or props to create an interesting shot. Serveware, linens, flatware, furniture, and backgrounds can all be used as props to help tell your food story. Props can also convey information about the type of cuisine, culture, as well as the location or region of food you are making.
TIP 1
Pay attention to background and foreground first. What kind of backdrop will convey your story? Is it a table scene or in front of the stove in the kitchen? Is it a summer or winter dish? Are you going for a rustic or more modern look? Once you define a background, then you can pull in complimentary props.
TIP 2
Using a standard color wheel can help you decide what color props will match your background scene. Do you want complementary or contrasting colors to highlight your dish? Are you trying to create a monotone shot, a muted shot, or a high contrast shot?
TIP 3
When choosing serveware, think about the colors of your dish, the depth, and the shape of the food. Liquids like soups take the shape of the dish. Shallow and wide bowls make food look abundant. Build up a collection of varying shapes and sizes, colors and textures of serveware and have fun with your photos.
TIP 4
White dishes are a safe pick, but colored and textured dishes can add more visual appeal to your food. Go with your instinct and pick what you think will work best for your shot.
TIP 5
Accessories like parchment paper, fresh flowers, herb bunches, or serving boards all add a visual element to shots. Choose different elements that they compliment your shot without going overboard. For example, if you choose a bold color like a royal blue bowl to plate your carrot soup, then use a beige or sand colored napkin to add balance. Don’t pick another bold color that will compete with the main subject––your carrot soup.
Post Processing
Ideally, it would be great if we got the exposure, color and contrast of the images as per our preference right out of the camera. But, it’s hardly possible so images need adjustments or post processing to make them look better. There are different formats in which one can shoot and preserve the data of an image file either a JPEG or RAW file are most common and then edit using photo editing softwares to enhance the light, contrast and saturation.
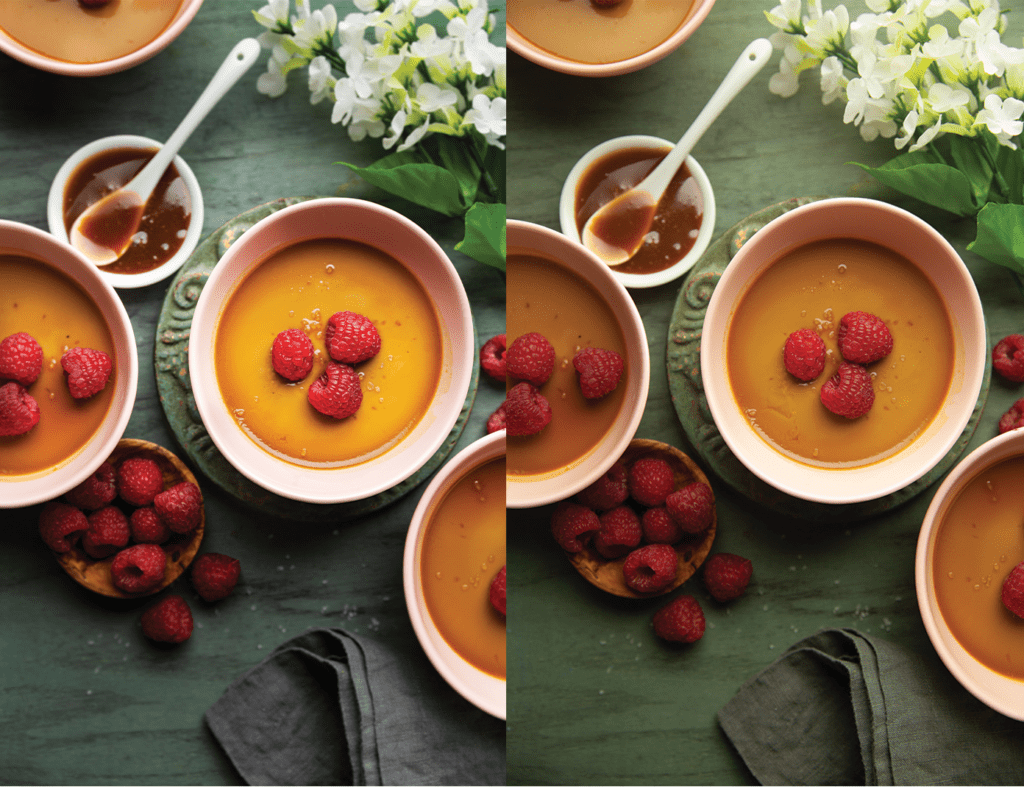
Post processing involves not just fixing the flaws of the image, rather you can change them completely depending on your liking. In my opinion, one of the most important features of a good image is white balance or color correction. Looking at an image can invoke warmth or cool sensory stimulation depending on its colors. Exposure of an image can be corrected by boosting the dark and light areas for a good balance of contrast and illumination. The images can be sharpened if desired as well. Keep in mind that the food, its texture and color should look natural, no one wants to look at neon green colored spinach or a grey color vanilla ice cream. Editing is a like like painting- you retouch, erase, layer and saturate as you go and how your eyes please. It’s a very personal process- no two photographers will edit the same shot in the same way. The best way to find your style in due course of time is to practice and edit lot, almost everyday if needed. Save versions of your edits and compare them to find/teach yourself your style!
Ready to create your own custom cookbook? Shop now
Have more questions? Visit our FAQ section here. Alternatively, you can email us at hello@heirloomproject.co
To get regular updates, follow us on Instagram here
Leave a comment
Your email address will not be published. Required fields are marked *